React + Rspack + Nx
This detects your bundler and configures Zephyr automatically. Learn more →
For manual setup, continue below.
- We expect you to have finished our Get Started guide.
- Have our browser extension installed in your browser.
Setup
1. Create an Nx workspace
Run below commands:
And select from these options:
2. Add hosts and remote
In your terminal, run:
In the terminal select from below answers:
Your Nx application's initial setup is complete! If you run:
You can see your application in the browser.
3. Naming each application
To understand why these configuration are necessary - Read the complete checklist to deploy Micro-Frontend with Zephyr.
Open the new directory in your selected editor and add package.json as a structure below:
This command will create all 3 files for you
In host's package.json, add below field (minimal example):
In remote1's package.json, add below field:
In remote2's package.json, add below field:
4. Create your first commit
After making sure each application in this project has a package.json and the naming aligns with the unique name in module federation config, you will need to make sure this project is a github repository and has at least one commit hash by running git commit -m "commit something" command.
5. Adding configuration for Zephyr
Install Zephyr's plugin for Rspack (works in Webpack too):
Add Zephyr plugin to each application's build config by adding below lines from Nx's auto-generated build config:
You will need to do the same for rspack.config.prod.ts for host app.
6. Build the remotes and serve the host
You have to build the remote applications first; this ensures that the host application can properly contact the remotes.
The first time you initiate a build with Zephyr, it will prompt you to log in by directing you to the Zephyr website. This login is required only on your first build; subsequent builds will not require a login.
We may require you to log in again if you removed your Zephyr configuration file ~/.zephyr locally.
Now you can serve the host application to check if everything is working properly, which through nx magic will start the two remotes.
Your host app should start on port 4200 by default and each remote will spin up on its own port. All three applications should be deployed now.
7. Chrome Extension
You can check the application you just deployed in our chrome extension.
Head to Chrome Web Store to install our chrome extension - Zephyr Mission Control. Click on Add to Chrome and confirm with Add extension. After you finish remember to pin the extension by clicking on on extension management tab to provide you a quicker access to Zephyr's side panel.
Once you click on the Chrome Extension, a login page will pop up and prompt you to log in (if you are using Microsoft Edge you will need to click on Open Side Panel).
What happens when you log in?
While we are logging you in, we are storing your authorization information locally under ~/.zephyr in your root directly. Whenever you want to clean up your local profile information (they are JWT claims for each of the project you deployed through Zephyr), you can enter your root directory in terminal and run:
Now that you have logged in and deployed your apps; you should see the versions of the host application, and the versions of our two remotes (remote1 & remote2). Make some changes locally, watch them redeploy and select the new version from the drop down (you may need to refresh the browser to see the latest, if live reload is not checked)
Our chrome extension is only supported on Chromium based browsers. See a list of supported browsers (Chrome, Edge, Brave, etc.).
8. Dashboard
If you want to see all your projects and their versions, sign in on dashboard and you will see all your projects and their dependencies.
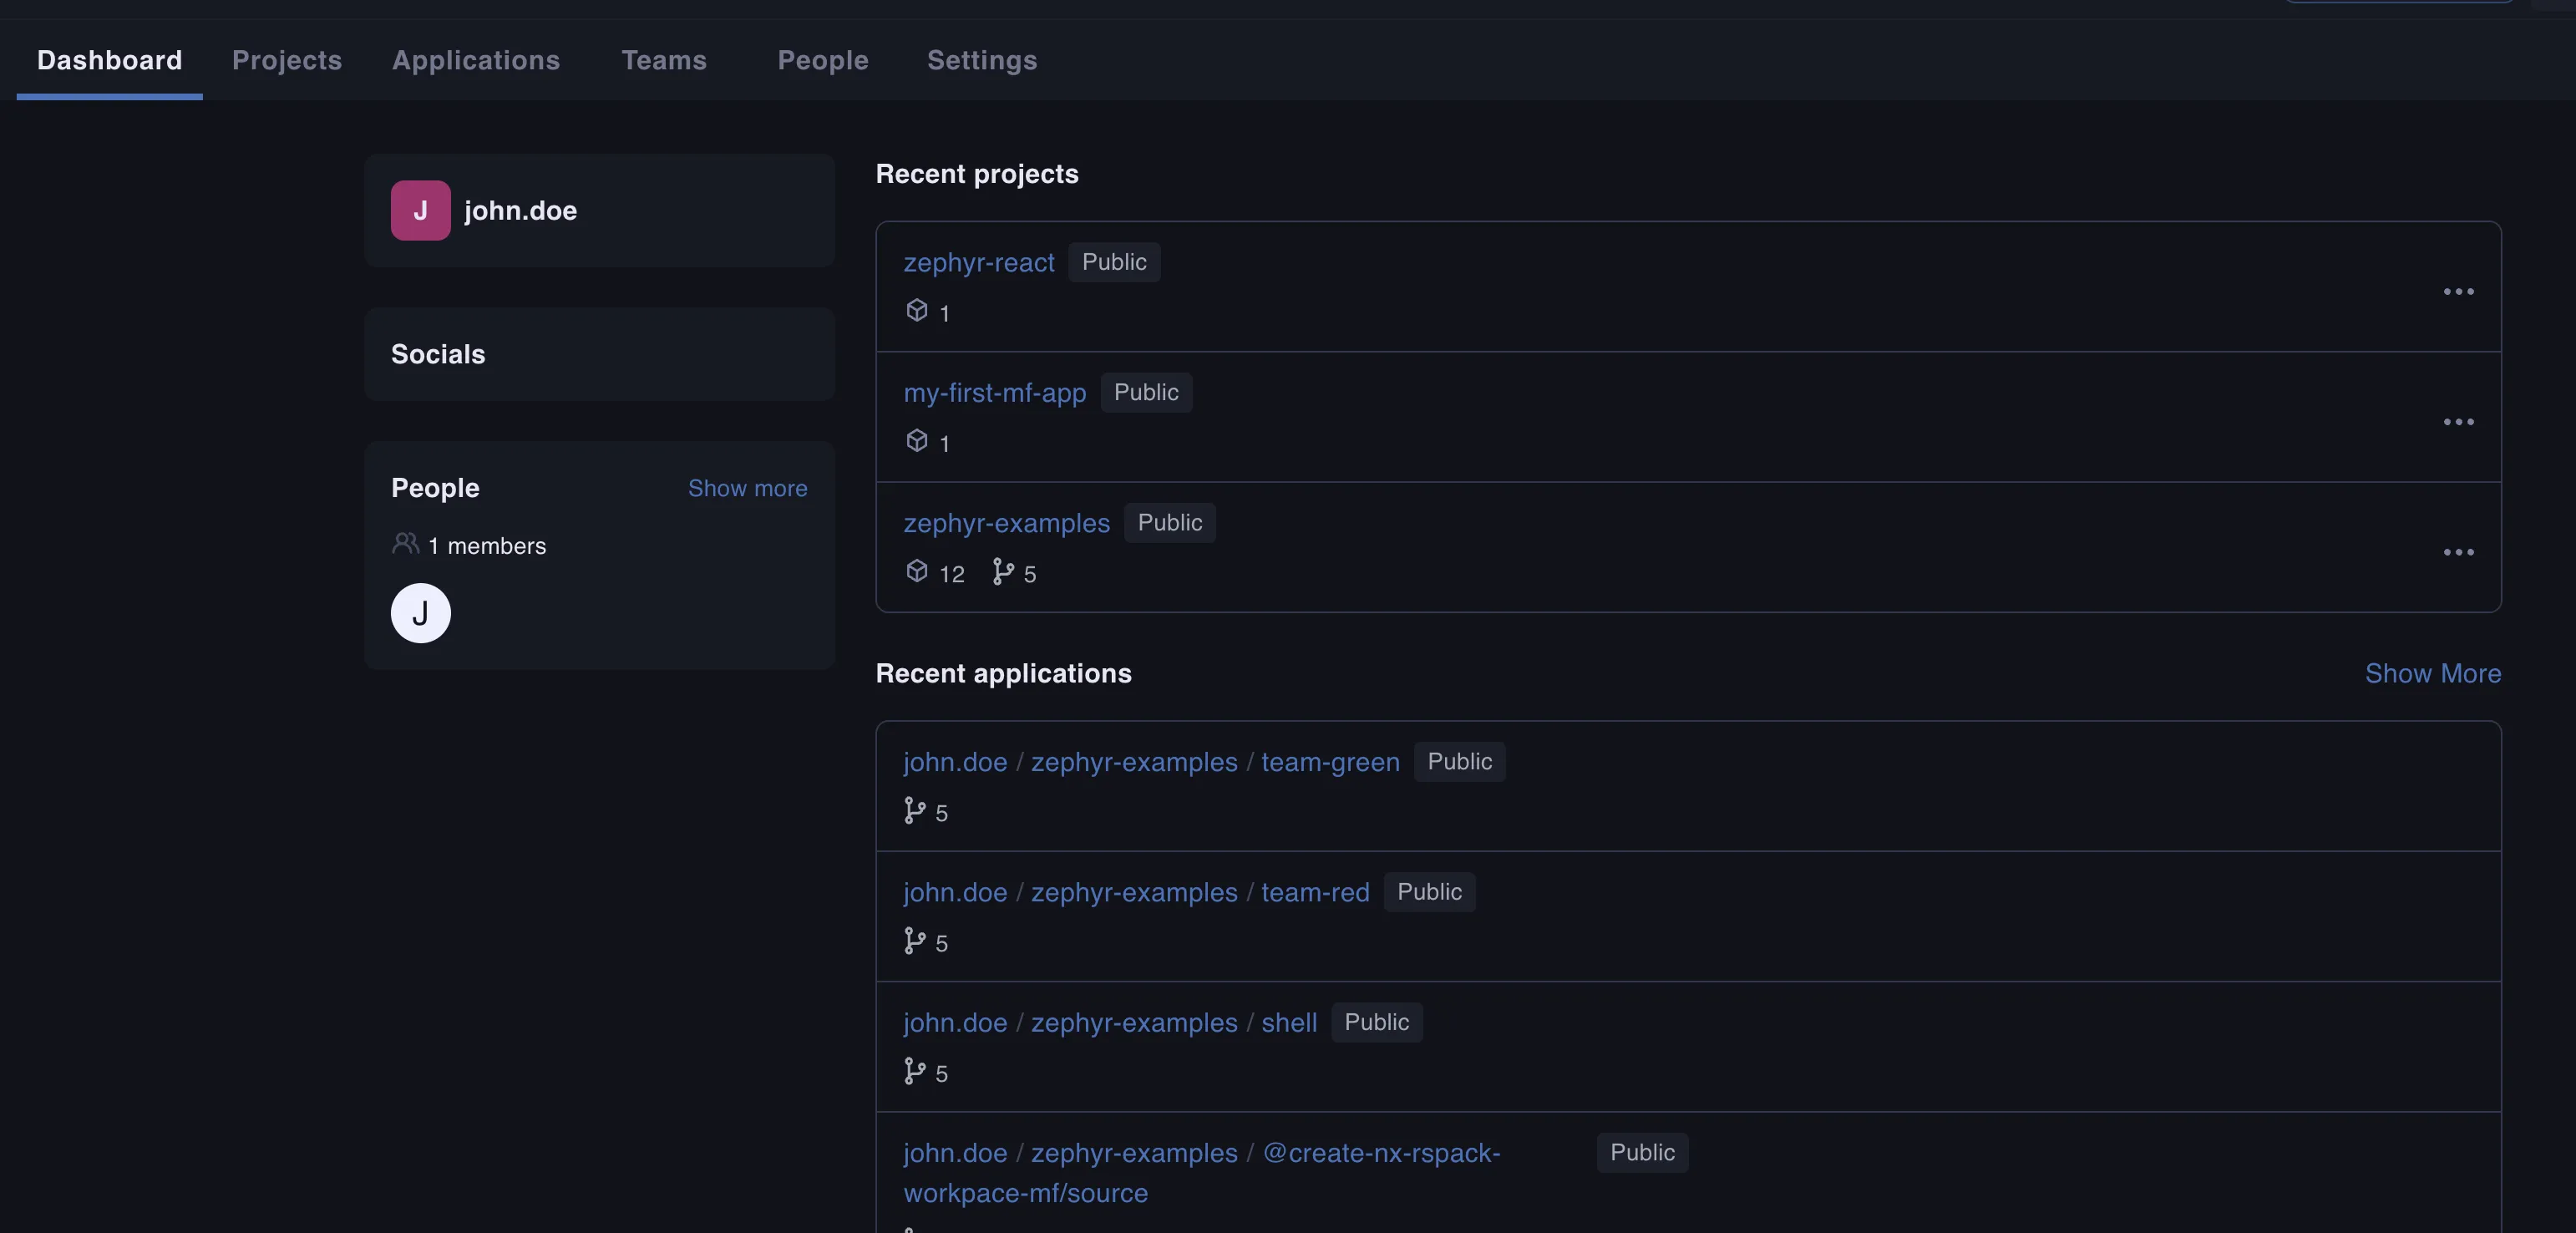
A more detailed explanation on how to use our dashboard is coming soon.